
Chapter 1: The Launchpad
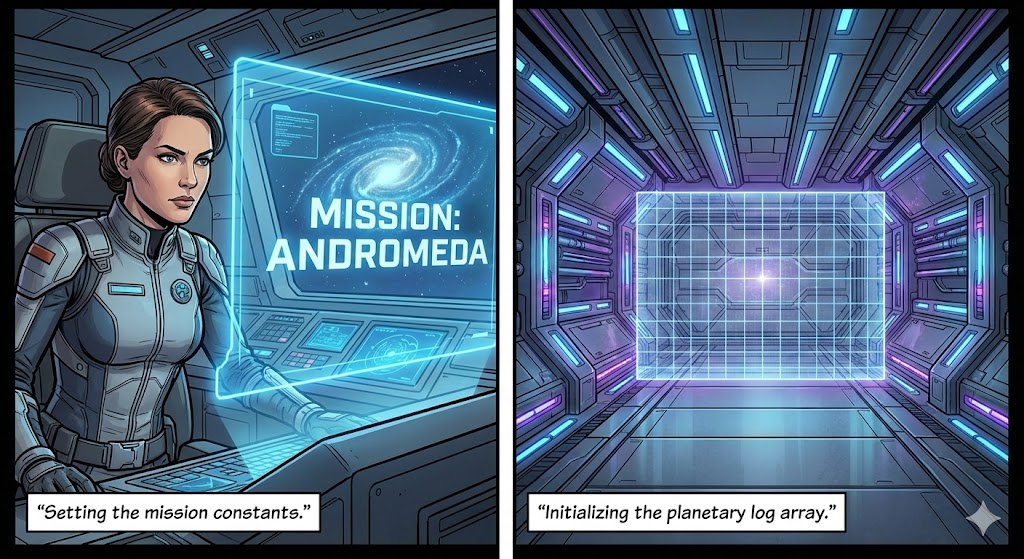
The Story: Captain Ava stands before her ship, the JS Enterprise. Before ignition, she must initialize the ship’s core memory. She sets the mission name and prepares an empty “Cargo Hold” for the planets she’s about to discover.
🛠 Mission Briefing: Variables & Data Types
constvslet: Think ofconstas the ship’s hull—it’s permanent. Use it for data you don’t want to accidentally overwrite.letis like your fuel gauge—it changes constantly.- Objects
{}: In JS, an object is a way to group related data. Instead of having separate variables forplanetNameandplanetColor, you put them in one “folder” called aplanetobject. - Arrays
[]: These are simple lists. OurplanetaryLogsarray is a vertical stack of all our planet objects.
In JavaScript, we use const for things that stay the same and let for things that might change.
// Mission Details (These won't change)
const missionName = "Andromeda Outreach";
const maxFuelCapacity = 100;

// Ship Status (This will change as we fly)
let currentFuel = 85;
let missionStatus = "Exploring";

// Our Cargo Hold: An Array to store Objects (Planets)
const planetaryLogs = [];

// A single Discovery: An Object
const firstDiscovery = {
    name: "Zog-7",
    habitable: false,
    distanceLY: 4.2
};
Chapter 2: The Automated Stamping Machine
The Story: Ava realizes that manual logging is slow. She builds a “Stamping Machine.” Whenever she finds a planet, she feeds the name and rating into the machine, and it spits out a perfectly formatted digital log.

🛠 Mission Briefing: Arrow Functions
- Arrow Functions
=>: These are the modern “shorthand” for functions. They take “inputs” (parameters) and “return” an output. - Why use them? They are cleaner to read and are the standard in modern tools like React. They act like a recipe: Ingredients (Inputs) => Cooked Meal (Output).
// The modern way to write functions: Arrow Functions
const createLogEntry = (planetName, rating, description) => {
    return {
        id: Date.now(),
        planetName,
        rating,
        description,
        recordedAt: new Date().toLocaleDateString()
    };
};

// Usage:
const log1 = createLogEntry("Xylos", 5, "Purple skies and floating rocks.");
planetaryLogs.push(log1);
Chapter 3: The Viewscreen
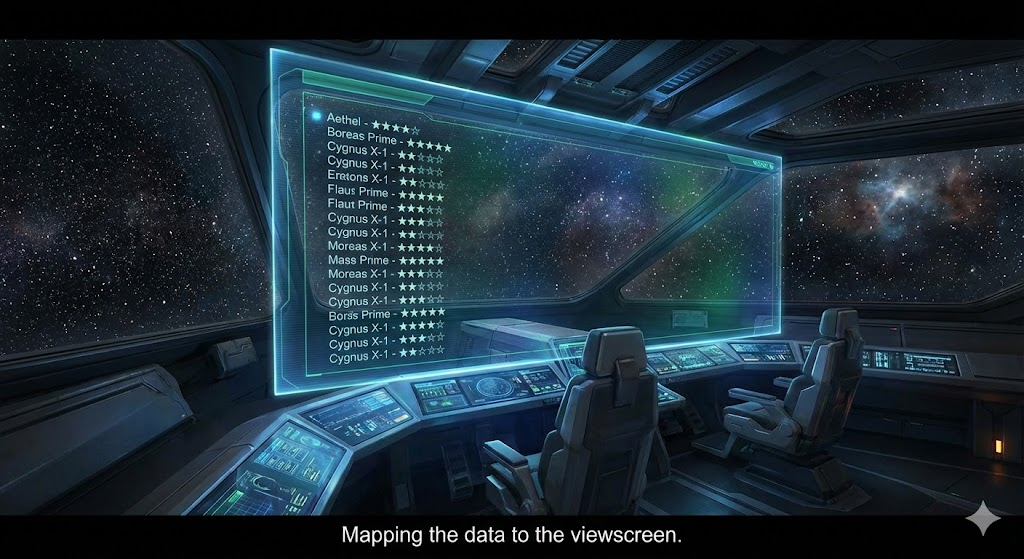
The Story: The ship’s main viewscreen is dark. Ava runs a command to “Map” her data onto the screen. Suddenly, rows of glowing text appear, describing every world she’s visited in human-readable language.
🛠 Mission Briefing: Template Literals & .map()
- Template Literals
`: Before these, joining text and variables was like taping pieces of paper together:"Hello " + name + "!". Now, we use backticks and${}to inject variables directly into the “template.” .map(): This is the most used array tool in JS. It doesn’t change your original list; it creates a new list based on your instructions. If you have 100 planets,.map()will transform all 100 of them into HTML or text at once.
We use Template Literals (backticks `) to inject variables into text, and .map() to loop through the entire list and “map” each entry to a piece of text.
const displayLogs = () => {
    // .map() goes through every log and returns a new list of strings
    const formattedLogs = planetaryLogs.map(log => {
        return `LOG [${log.recordedAt}]: ${log.planetName} is rated ${log.rating}/5. Notes: ${log.description}`;
    });

    console.log(formattedLogs.join('\n'));
};

// Add another log and display
planetaryLogs.push(createLogEntry("Neon-Prime", 3, "Too many bright lights."));
displayLogs();
Chapter 4: The Scanner
The Story: A meteor shower is approaching! Ava needs to find a safe planet quickly. She sets her scanner to “Filter” for only 5-star habitable worlds. The scanner ignores the gas giants and highlights exactly what she needs.

🛠 Mission Briefing: Filtering & Destructuring
.filter(): Unlike.map(), which keeps every item,.filter()checks a condition (likerating > 4). If the condition istrue, the item stays. Iffalse, it’s tossed out.- Destructuring: Imagine a planet object has 50 properties (mass, gravity, oxygen levels, etc.). If you only need the
name, destructuring lets you “pluck” it out:const { name } = planet;. It saves you from typingplanet.nameover and over.
// Destructuring lets us pull properties out of objects easily
const showHighPriority = (logs) => {
    const highPriority = logs.filter(log => log.rating >= 4);

    highPriority.forEach(log => {
        // We "destructure" name and rating here
        const { planetName, rating } = log;
        console.log(`TOP DISCOVERY: ${planetName} (Rating: ${rating})`);
    });
};

showHighPriority(planetaryLogs);
Chapter 5: The Transceiver
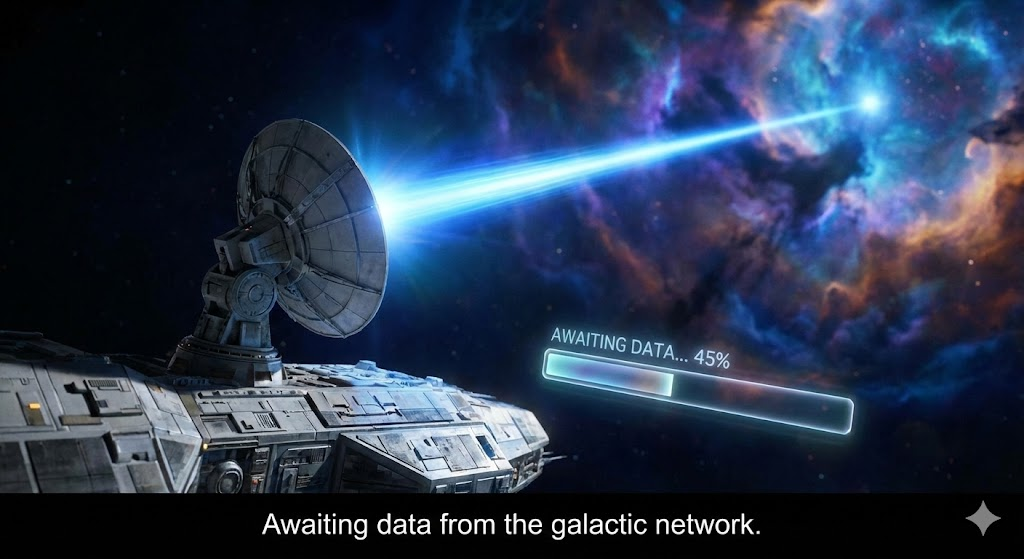
The Story: Ava pings a distant Star-Base to download old records. There is a delay… the signal is traveling across light-years. She uses “Async/Await” to tell her ship: “Keep the lights on, but don’t move to the next step until that data arrives!”
🛠 Mission Briefing: Async/Await & Spread
async/await: JavaScript is “single-threaded,” meaning it usually does one thing at a time. If a data request takes 5 seconds, the whole app would freeze withoutawait. This keyword tells JS to “pause” this specific function until the data is ready, while the rest of the app stays responsive.- Spread Operator
...: Think of this as “unzipping” a bag. If you have an old list of planets and a new list,[...old, ...new]dumps the contents of both into one big new bag.
// Simulate fetching data from a distant satellite (API)
const fetchEarthRecords = async () => {
    console.log("Connecting to Earth...");

    // In a real project, this would be: await fetch('url')
    const response = await new Promise(resolve => {
        setTimeout(() => resolve([{ planetName: "Mars", rating: 2, description: "Red and dusty." }]), 2000);
    });

    // Use the SPREAD operator (...) to merge the new logs with the old ones
    const updatedLogs = [...planetaryLogs, ...response];
    console.log("Logs merged successfully!", updatedLogs);
};

fetchEarthRecords();
Chapter 6: The Control Panel
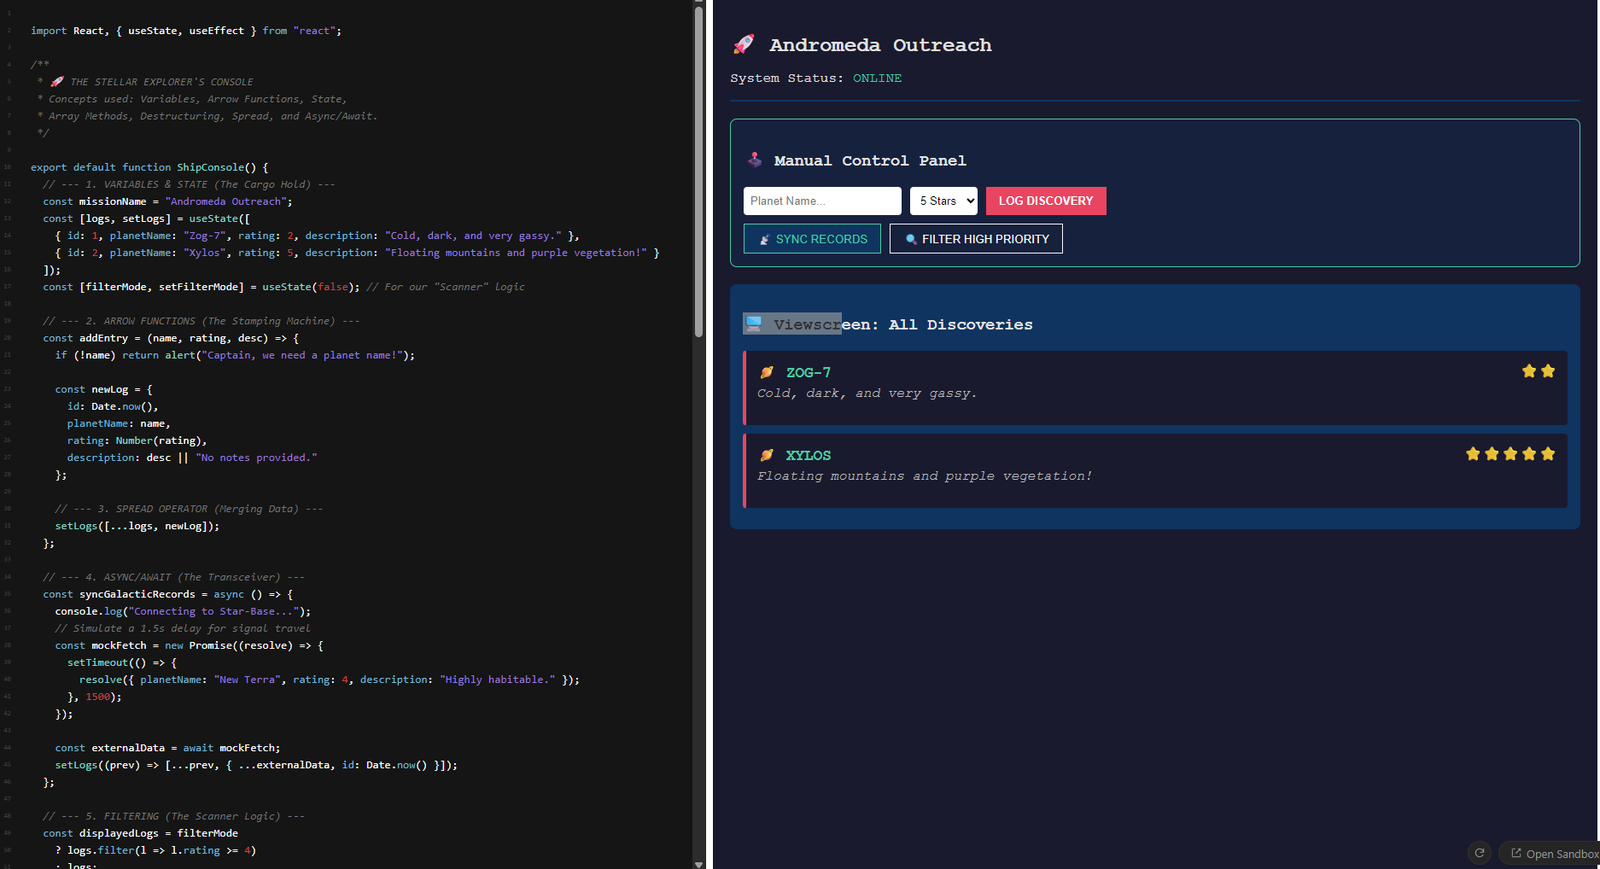
The Story: Ava installs a physical “Log Discovery” button on her desk. She wires it so that every time she hits the button, the ship’s computer listens, grabs the data from her keyboard, and updates the display.
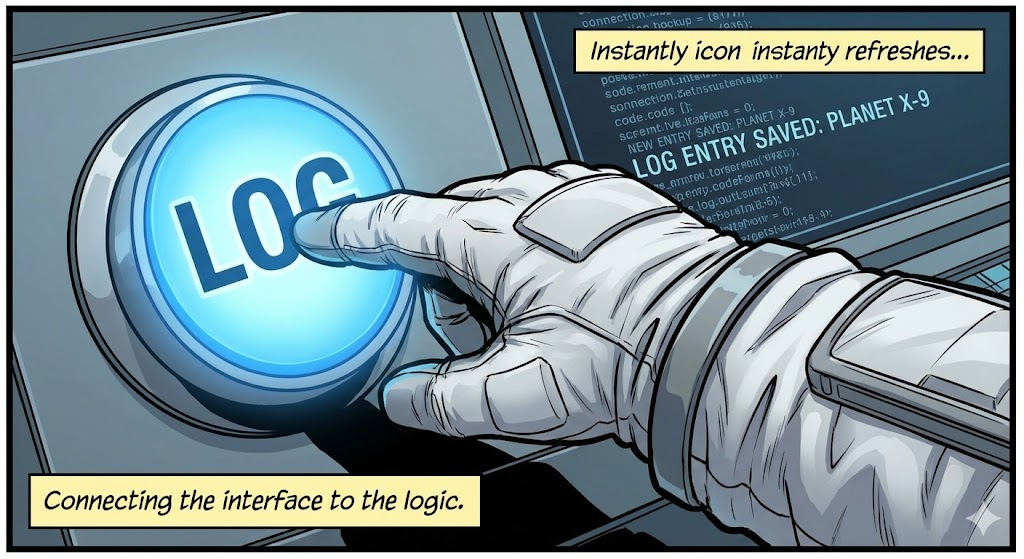
🛠 Mission Briefing: DOM & Event Listeners
- The DOM: This is the “bridge” between your JS and your HTML.
querySelectoris like a claw machine that reaches into the HTML to grab a specific button or text box. addEventListener: This is a “waiter” that sits by an element. It does nothing until a specific event happens (like aclick,submit, orkeypress), and then it executes a function.
// Finding the button on the "Ship Console" (the HTML page)
const saveButton = document.querySelector('#save-btn');
const inputField = document.querySelector('#planet-input');

// Making the button react to a click
saveButton.addEventListener('click', () => {
    const newPlanet = inputField.value;
    const entry = createLogEntry(newPlanet, 5, "Manual entry from console.");
    planetaryLogs.push(entry);
    alert(`Entry for ${newPlanet} saved to the ship's core!`);
});